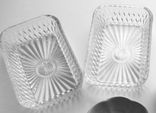
While walking leisurely up and down the aisles of a thrift store, I spotted a set of two small dishes that could have been relics of my childhood. I imagine these little dishes were originally conceived to hold dried nuts and candied fruit, but were now sitting on a shelf looking forlorn and forgotten. And at $2 for the set, I could not resist picking them up and setting them gingerly in my basket.
I challenged myself to think about how I could make use of these little glas dishes. I couldn't use them to leave food out (we have birds and dogs who would not hesitate to help themselves). Soap dish? Nope - I use liquid hand soap. Catch-all tray on the vanity? Too many of those already. So, what to do with these rescued pieces?
I decided to give these vintage pieces a little makeover and include them as part of a Christmas gift, creating a personalized touch and a zero-waste packaging - a double win! Here is how these little dishes became Upcycled Trinket Trays:
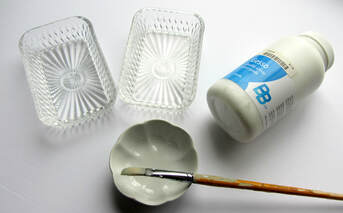
Step 1
Apply Gesso on the exterior of the dish to create a base on which the paint will adhere. Because these dishes are transparent, the interior will be white regardless of the paint you use on the outside. I tried applying the paint directly to the dish, but it chipped off once dry. Alternatively, you could try mixing in some paint with the gesso to tint it (and let me know how that works out for you). Best to test it out on a small surface first. 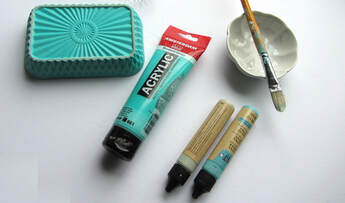
Step 2
Apply paint of choice, two to three coats depending on the viscosity and coverage of your paint. I used chalk paint, which worked well, but decided I wanted a more jewel-tone look, so I added a third layer with basic acrylic paint. Let the paint dry well between layers, and double the time for your last layer. 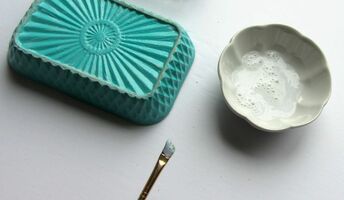 The design on the bottom reminds me of vintage Tupperware containers! The design on the bottom reminds me of vintage Tupperware containers!
Step 3
Apply a varnish coat. I used an acrylic paint varnish on the fist dish, and ModPodge on the second. The acrylic varnish had many bubbles (courtesy of my shaking the bottle perhaps?) and thus took longer to apply, and was just a tiny bit sticky to the touch for a few days before it dried completely. The ModPodge went on slightly thicker, without bubbles and dried to a smooth finish. 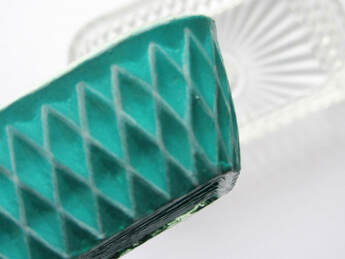
Variations
Using acrylic paint pens, I added some white detailing along the diamond shape of the dish. It took two layers and some occasional touch-ups. Then I applied another layer of varnish. To save time, you could simply add this detail once your last layer of paint has dried. 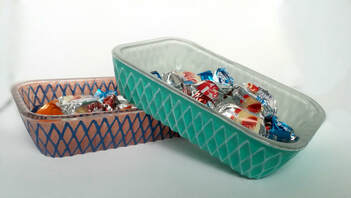
Experiments
I decided to try using ceramic paint pens on the second dish, sans Gesso, to have the colour show on both the inside and the exterior of the dish. It worked out... moderately well. Without a base coat of primer, the paint in the pens would occasionally rub off, particularly when applying a second coat, or adding the diamond detail colour atop the base. If you are not bothered by slight imperfections ( I think it adds to the trinket tray's charm), this method gives you the added benefit of having the colour show through on the inside (see image below). Of course, adding the varnish seals in the colour and so far it is still holding strong.
You can watch the process of customizing the first dish below:
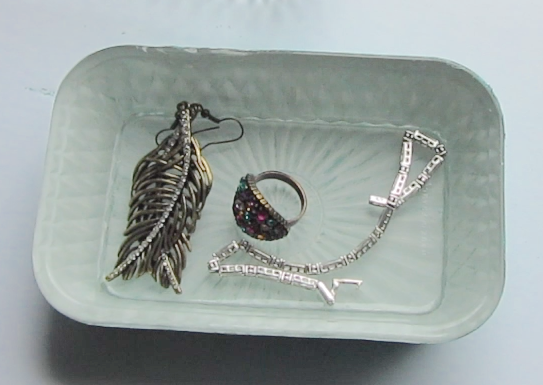
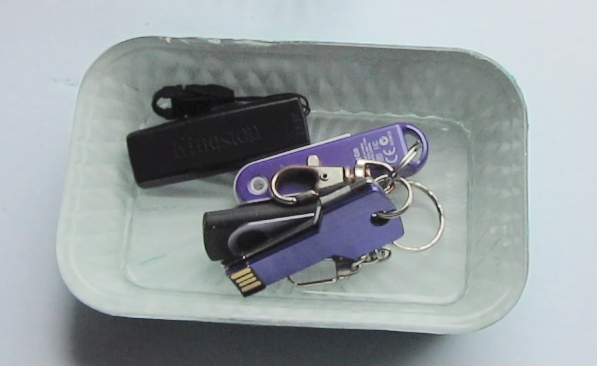
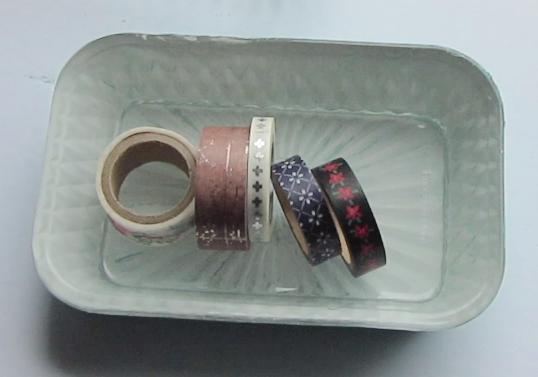
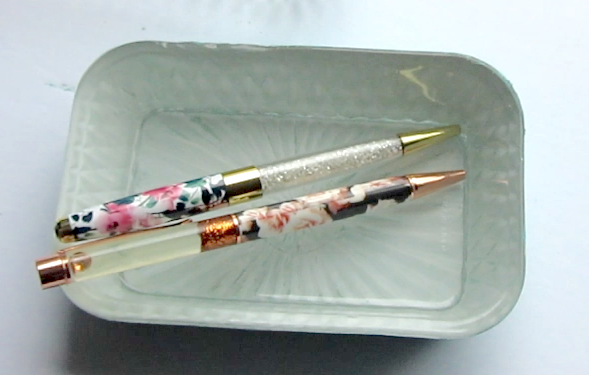
These trinket trays have now been gifted to the little ladies in my life, who squealed with excitement when they unwrapped them over the holidays. One of these may have been swiped by their mom to use as a soap dish... I encourage you to take a look in some cupboards or explore the offerings at yard sales and second-hand stores and try this easy DIY yourself. If you do, please share your experience in the comments below. For more DIYs and tutorials, you can visit my Youtube channel: bit.ly/PCCTV . Be well, try something new, and create a life (and a trinket dish) you love! xo Katherine
0 Comments
Every so often I come across a new-to-me technique that I like to incorporate into my artwork. Here are some of the tools, tops and techniques I tried out in the month of May:
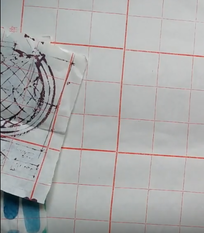
1. Printing on acetate.
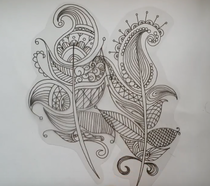
When I worked in a school, I often found boxes of things labeled "please take" filled with obsolete materials that were once very cutting edge, like acetate sheets - the kind teachers used to layer on projectors instead of writing on the chalkboard. I held onto boxes of these, turning them into planner pockets and dashboards, until I too stopped using them. A few months ago, I was printing out some images and one of these sheets had slipped into the cardstock pile. The following day, I saw an artist showcase some of her printables on acetate, done at a copy store. Was it serendipity? A sneaky muse determined to have her inspiration put forth into our world? Whatever it was, I was thrilled at the prospect of creating my own clear elements to use on my layouts. After printing out several sheets, I decided to try copying a colouring page onto acetate. The result was a line drawing I could overlay on watercoloured paper as an instant 'coloured' page, or over writing to add a layer of privacy when I shared my art journal. 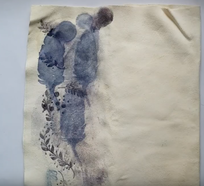
2. Shammy for stamp cleanup
On my last visit to a local art supply store, I saw the clerk use a squeaky cloth sprayed with water to remove excess ink from a clear stamp. Curious, I asked to try it out and noticed it was the consistency of a shammy - the kind my father would make us kids use to dry the car after we washed it (you know, back in the days when people washed their own cars - or got the neighbourhod kids to do it). I found an inexpensive version at the dollar store and have been using it ever since. Once it gets saturated, I think I'll invest in a better quality one from the automotive department at the store (less fraying). Still a better price point than the branded one at the craft store! 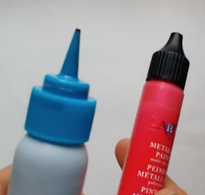
3. I found a paint pen at a craft store and although I really liked the way it could be used to make puffy lines that add some dimension to artwork, I wasn't keen on the colour selection and wanted to use the paint I already have in my toolkit. I found some containers with a relatively fine tip at an off-chain dollar store and added my own colours. It also works very well with masking fluid, which means I can incest in the bulk size container and stop ruining paint brushes when I use it. Best $1.50 I spent that month. Next I want to try mixing my own colours. To be continued...
4. Using tracing paper, rice paper, and tissue paper
I knew all that tissue paper I was hoarding would come in handy one day! Using it as a canvas is the most therapeutic form of art. I highly recommend it as a relaxation technique. That week, I saw no less than 4 others online using tissue paper. Ok, it may have been because we all watched our Patreon master do it (Hey Courtney!) and it instantly became a favourite. There is also something very satisfying about using your own creations in, well, more of your own creations. I had been using a half-empty pad of tracing paper from high school as onion paper to write letters, so I decided to use this too with paint- the crinkle factor is divine (paper lovers will understand this bizarre obsession with crinkly paper). The final paper type I used was japanese calligraphy paper, also called rice paper. I found a few packs of these at a secondhand store a day after i was searching for it online. Serendipity at work again? I like to think so! 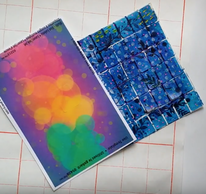
5. Labels as mixed media canvas
About a year ago I started buying small blank labels and using alcohol-based markers to create a colour-coding system for my planner. Since then I have printed or stamped images on them and used the disjointed imagery in my art. I saw someone else layering paint over labels and tried it as well, adding different media, layer after layer. Sometimes this works great, other times the layers are too thick and stick together. I have since discovered that acrylic paint works well if layered on very thin, watercolours will interfere with the adhesive on the back of the labels, stencils work great when you dab them with stamping ink, and stamps are always a good idea.
I hope you have been inspired to try some of these techniques. I love experimenting with art, so feel free to message me or tag me in your posts and videos.
xo, Katherine YT Video: https://youtu.be/I4oQFgKmdMg Instagram: @plancultivatecreate This year had been dubbed 'The Year of Use' in certain art circles, and I'm striving to do just that: Use up some forgotten supplies, or take a deep breath and let them go. As I scavenged through my pens and markers, I noticed a few that were no longer in their prime; streaky marks, uneven lines, and so I decided to try to give them a second life. A little more rummaging brought forth some old fountain pen inks that were just waiting to be put to use. And so, I got out my handy multipurpose tool and set to work. Here are the 3 simple steps to refill your markers: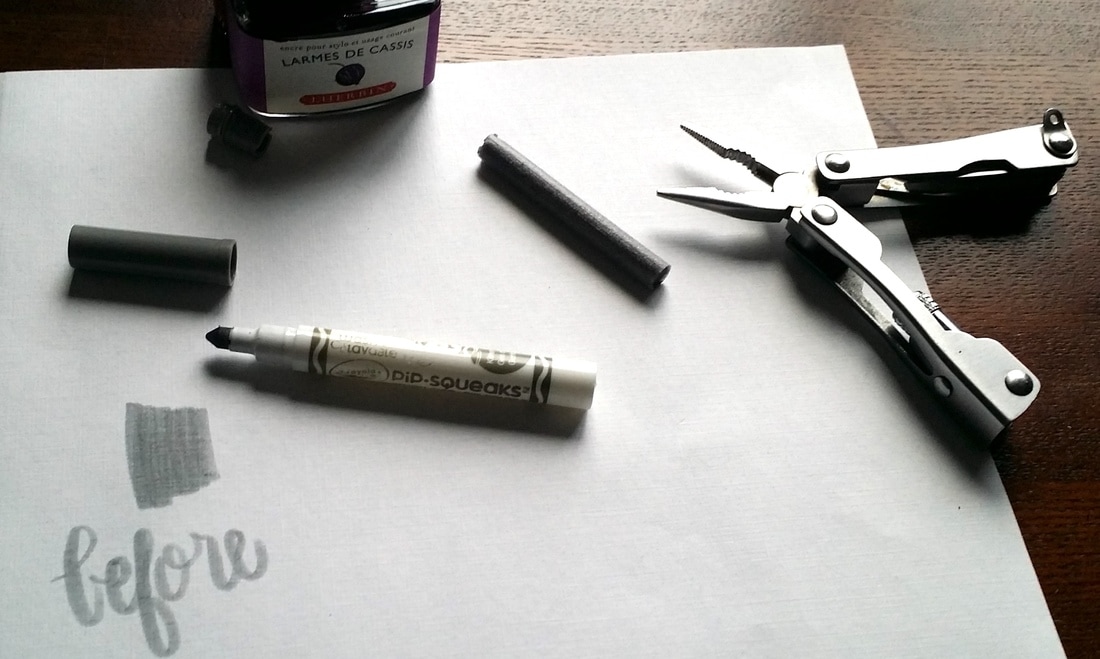 Step 1: Take apart the marker, either from the front (near the tip) or by removing the back stopper, and pull out the sponge. 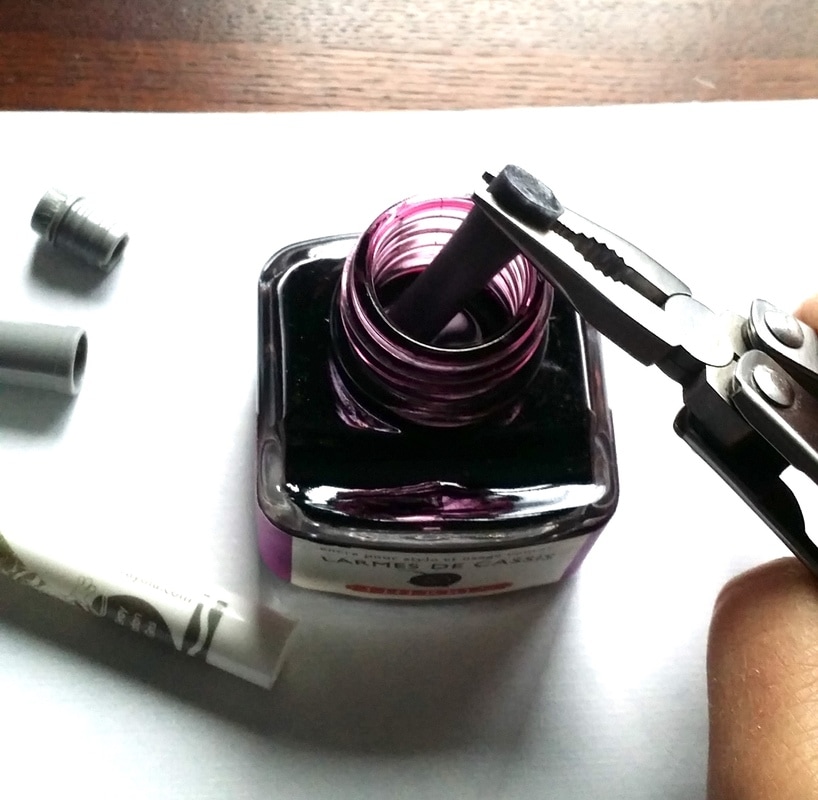 Step 2: Place the cartridge in the inkwell and let it soak up the ink. The sponge usually darkens as it pulls in the ink. 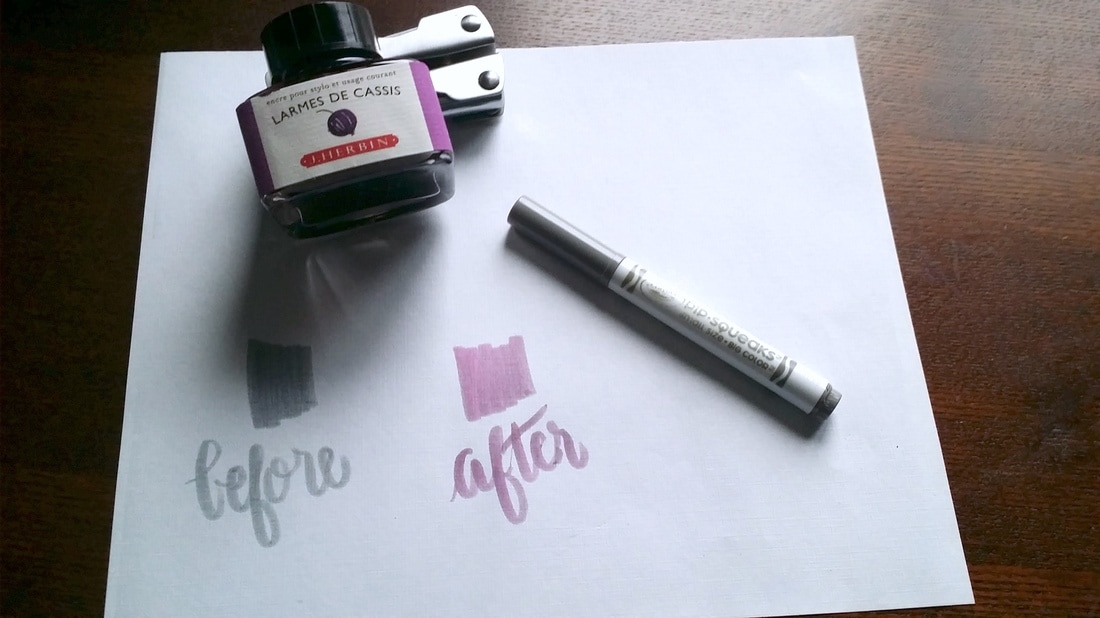 Step 3: Put the cartridge back in, and snap the casing back together. In just a few minutes, you can swatch the marker. I changed the colour of this marker, from grey to a mauve/blackcurrant colour. 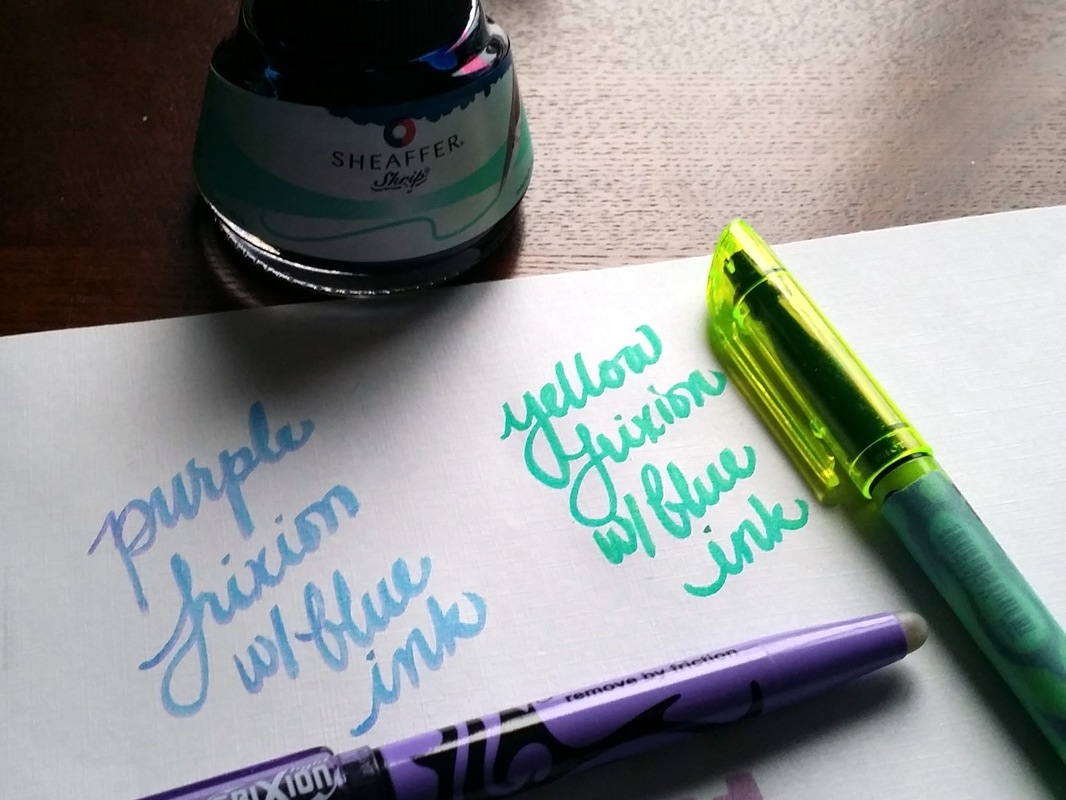 I played around with mixing colours on the Frixion highlighters. I swatched these just moments after inserting the sponge cartridge back in. Once the ink has the chance to permeate the nib, after a few hours, the colour comes out solid. It's a fun way to give your supplies a second life, and even create new, unique colours. I also tried refilling liquid ink pens with a mix of the different inks and the result has been a unique pen ink, and a few more pens saved from the landfill. I suppose the markers and pens can be refilled over and over, until the nibs start failing. Want to watch a quick how-to tutorial?I'm curious: Have you ever tried refilling a pen or a marker?
Do you have any tips to share about giving your supplies a second life? xo Katherine |
You're invitedon the journey to Archives
February 2021
Categories
All
|
 RSS Feed