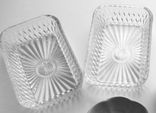
While walking leisurely up and down the aisles of a thrift store, I spotted a set of two small dishes that could have been relics of my childhood. I imagine these little dishes were originally conceived to hold dried nuts and candied fruit, but were now sitting on a shelf looking forlorn and forgotten. And at $2 for the set, I could not resist picking them up and setting them gingerly in my basket.
I challenged myself to think about how I could make use of these little glas dishes. I couldn't use them to leave food out (we have birds and dogs who would not hesitate to help themselves). Soap dish? Nope - I use liquid hand soap. Catch-all tray on the vanity? Too many of those already. So, what to do with these rescued pieces?
I decided to give these vintage pieces a little makeover and include them as part of a Christmas gift, creating a personalized touch and a zero-waste packaging - a double win! Here is how these little dishes became Upcycled Trinket Trays:
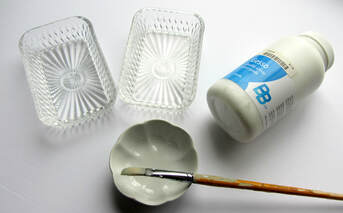
Step 1
Apply Gesso on the exterior of the dish to create a base on which the paint will adhere. Because these dishes are transparent, the interior will be white regardless of the paint you use on the outside. I tried applying the paint directly to the dish, but it chipped off once dry. Alternatively, you could try mixing in some paint with the gesso to tint it (and let me know how that works out for you). Best to test it out on a small surface first. 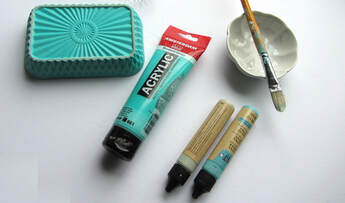
Step 2
Apply paint of choice, two to three coats depending on the viscosity and coverage of your paint. I used chalk paint, which worked well, but decided I wanted a more jewel-tone look, so I added a third layer with basic acrylic paint. Let the paint dry well between layers, and double the time for your last layer. 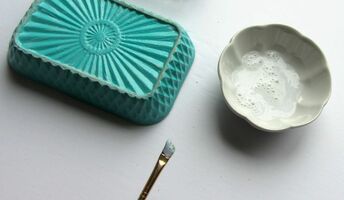 The design on the bottom reminds me of vintage Tupperware containers! The design on the bottom reminds me of vintage Tupperware containers!
Step 3
Apply a varnish coat. I used an acrylic paint varnish on the fist dish, and ModPodge on the second. The acrylic varnish had many bubbles (courtesy of my shaking the bottle perhaps?) and thus took longer to apply, and was just a tiny bit sticky to the touch for a few days before it dried completely. The ModPodge went on slightly thicker, without bubbles and dried to a smooth finish. 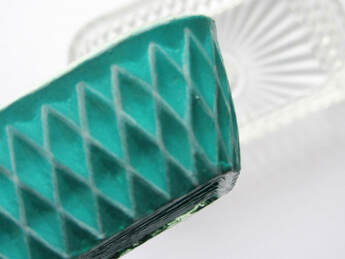
Variations
Using acrylic paint pens, I added some white detailing along the diamond shape of the dish. It took two layers and some occasional touch-ups. Then I applied another layer of varnish. To save time, you could simply add this detail once your last layer of paint has dried. 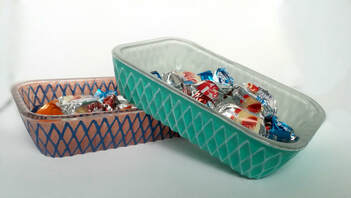
Experiments
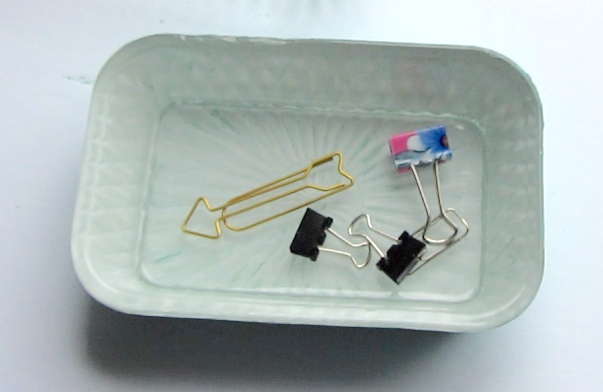
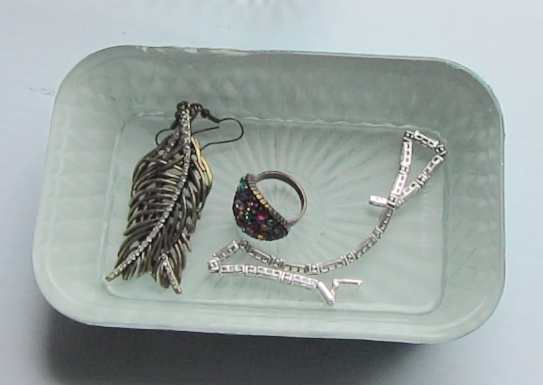
I decided to try using ceramic paint pens on the second dish, sans Gesso, to have the colour show on both the inside and the exterior of the dish. It worked out... moderately well. Without a base coat of primer, the paint in the pens would occasionally rub off, particularly when applying a second coat, or adding the diamond detail colour atop the base. If you are not bothered by slight imperfections ( I think it adds to the trinket tray's charm), this method gives you the added benefit of having the colour show through on the inside (see image below). Of course, adding the varnish seals in the colour and so far it is still holding strong.
You can watch the process of customizing the first dish below:
These trinket trays have now been gifted to the little ladies in my life, who squealed with excitement when they unwrapped them over the holidays. One of these may have been swiped by their mom to use as a soap dish... I encourage you to take a look in some cupboards or explore the offerings at yard sales and second-hand stores and try this easy DIY yourself. If you do, please share your experience in the comments below. For more DIYs and tutorials, you can visit my Youtube channel: bit.ly/PCCTV . Be well, try something new, and create a life (and a trinket dish) you love! xo Katherine
0 Comments
|
You're invitedon the journey to Archives
February 2021
Categories
All
|
 RSS Feed